Canvas Installation - Take 1
We finally decided on the full camper setup minus the frames, in Heather.
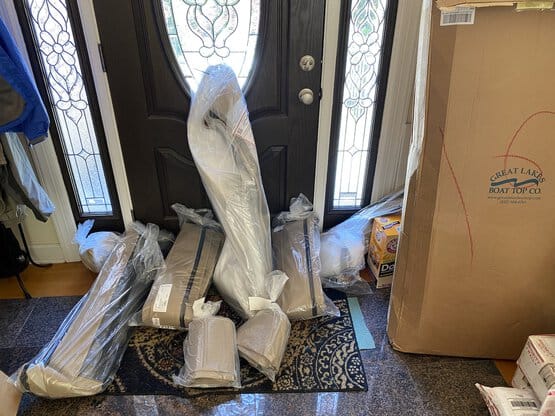
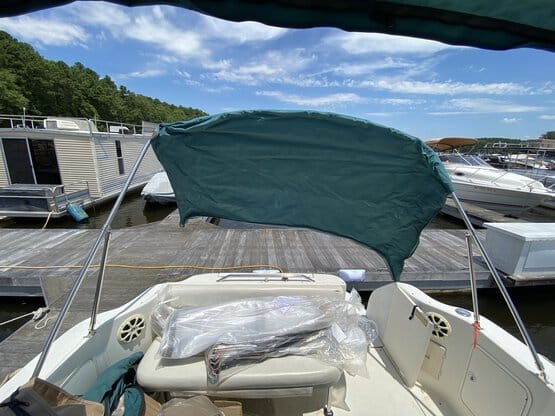
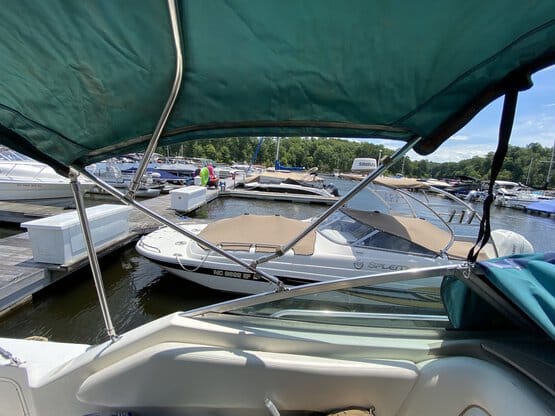
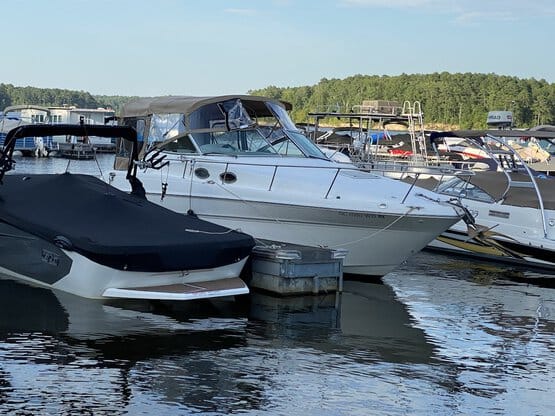
The canvas showed up in a pretty big box. The good news is while it could be a bit darker for my taste, it’s not insanely light, so I think we’ll like it. We headed out to the boat, with a bunch of misc things to get done - measuring for a coffee maker, installing a Carbon Monoxide alarm, and a handful of smaller other things, but - hey, I might as well ‘remove the green.’ The bimini and camper are relatively new, along with a cockpit cover, which we’ve been using to close her up.
How she sat this morning: (we usually roll the cover up and throw it over the front windshield when just hanging out on the boat..
Unfortunately, while there are a good # of videos online for canvas, thes ones I’ve seen are either for different models and makes, not for Sea Rays at all (e.g. add-on frames), or for boats with arches, which is a bit of a different story.
After staring at the bimini frame for a bit, we decided to make it easier and just start with the rear/the camper frame, which is really just a single bow running through the canvas, and significantly simpler.
The camper top is pretty straight-forward pop the pins out where the bows attach to the boat, and then slide the canvas off the bow. It’s easier to unpint the rear supports on the side from the boat first, allowing you to then lay the full frame to the rear without drama. I was able to leave the rear support connected to the main bow when doing the removal and sliding the new cover on, but be careful of any sharp points sticking out anywhere, like on the clamp holding the retaining pin and ring to the frame on a small gauge wire.
It would be much easier doing this in a driveway on top of a big blanekt or sheet. I thought about using the dock, but didn’t want to be blocking traffic, moreso if I were at a less convenient point to stop and move everything, so I did it all inside the boat. Once the rear frame was off, I flipped it upside down into a ‘U’ for canvas removal. Obviously, make sure you keep orientation in mind and don’t but the canvas on upside down…
On to the bimini removal
The bimini frame has two pinned attachment points per side, but also the center and forward bows which attach to the frame itself. The center bow also has the shortest section of fabric loop to slide through, so could probably be removed with the top frame still in place otherwise, but I decided to remove the frame in full to remove ‘on the ground.’
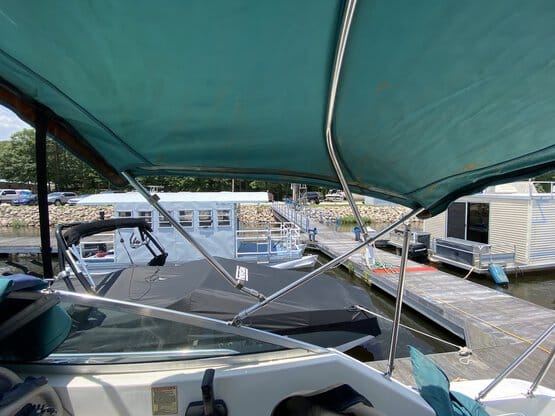
Before removing the bimini frame, I took pictures of both sides of the frame with the top up - it’s not a complicated setup, but always better to make sure nothing’s going on backwards somehow..
Port side pic - note the exposed center bow, which only has a partial canvas sleeve to slip through.
My strategy here was to disconnect the center bow by removing the screws and letting it hang (put the screws back in to avoid losing), then unclip the front straps, fold the top up, unpin the rear brace from the boat on each side, then finally lay it all down rearward and unpinning the frontmost bow from the windshield and laying the whole setup in the boat. Again, this would be much easier both with two pairs of hands, and carrying it off the boat to a larger area, but - it cane also be done on the boat if need be.
One tip that might make life easier - unscrew the screws holding the bows in place slightly before removing the frame from the boat. It might also be worth a quick shot of penetrating oil the day before. In my case, they came off but were pretty tight, and I actually broken a brand new Craftsman (made in China now, of course) screwdriver bit on the first attempt. Suqsequent attempts with a Kobalt multi-screwdriver led to ultimate success (although I managed to bend the bit…a bit), but who would have thought I’d need my ‘real’ Mac screwdriver set from the garage?
I immediately ordered 3 Klein multi-screwdrivers o replace these POSes on the boat tool bag, for the inside house tool drawer, and a spare for the garage, because life’s too short to deal with stupid tools… it’s so sad to see the Craftsman brand be effectively garbage nowadays.. :(
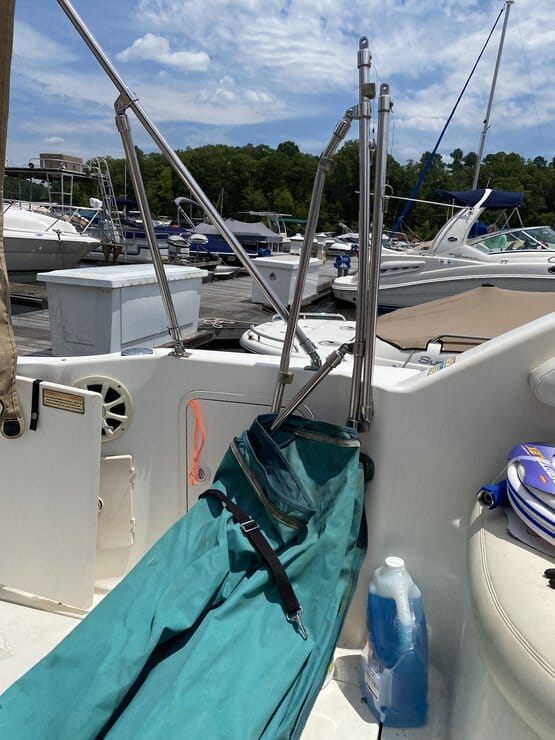
Once it’s said and done, you wind up with something looking like the below pic. This is a bit kludgy on the boat - given a sheet or blanet on the ground, off of the boat, it’s easier to open the bimini fully, up side down, to do bow extraction. As it was, I removed the center bow first, which was fairly easily done, then removed the front straps, disconnected the front bow from the main frame, then sort of shimmied the canvas off the rear and front bows at the same time, sort of ‘inchworming’ a bit to keep them moving along until off. Note - I had intially tried to leave the rear brace (forward-most vertical rod in the preccending pic) attached, but ultimately wound up disassembling the whole frame - it can be done without doing so, but it’s just easier/less tight in the canvas removing it..).
You’ll need to take the tie-down straps off before removing - these are simple loops through a seamed hole in the canvas. They may be a bit fiddly to get out, but they come out easily enough.

There was a bit of built-up gunk on the frames
so I sprayed and scrubbed them clean(er) before putting on the new canvas.
I left the center bow for last and focused on getting the canvas through the front and rear bows first, knowing the center bow is much simpler to get through the narrower canvas loop. After I had the canvas through the from and rear bows, I added in the center bow, although I probably could have left it entirely out until the frame was back in place.
Frame re-installation was pretty much getting the main rear bow in place and pinned on both sides, then unfurling the canvas to get one strap in place to hold it open, and then pinning in or screwing in the rest of the supports.

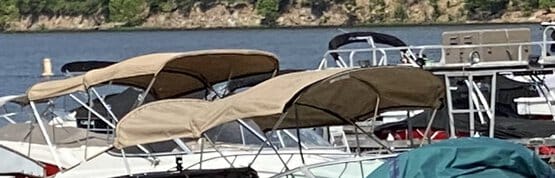
So how does it look so far?
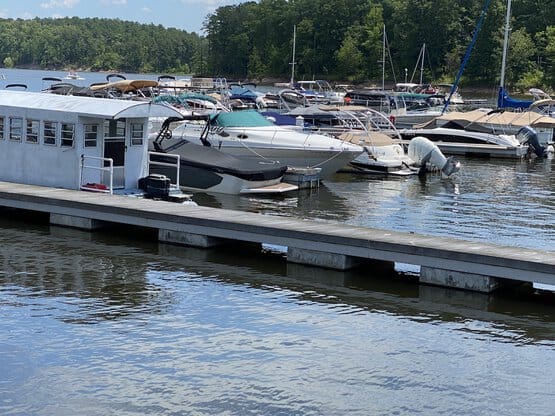
Well, this should have been the first indication something was up. Check the pic compared to the bimini and camper top on the cruiser behind and to the left. A bit funky, right? Or in reality - a lot funky. Something’s not right. Check the closeup on the right and also in comparison to the cruiser behind and to the left...
Again, mine is an AZ boat, so while it was both Great Lakes that made the frames and OEM tops, they claim no guarantee of fit on AZ boats. I figured I might have to make some frame adjustments (or possibly purchase new frames in the worst case), so this wasn’t wholly unexpected, but it was a bit disconcerting as the tops certainly slid on the frames like they were meant to be there, I had original Great Lakes paperwork that came with the original boat purchase so they weren’t aftermarket frames, but let’s see what happens.
I originally had planned to do a quick sanity check by attaching the new front visor to the green bimini as a means to check ‘is this going to fit?’ I didn’t, but now that was exactly what I wanted to do. Lo and behold, wit hthe front visor sections zipped to the bimini, there was an over a foot gap to the top of the windshield. Eventually, I came to the conclusion that when the PO had the tops replaced a year or two ago, as he wasn’t doig the full camper, his canvas guy simply threw the frame back up there, including the supports which have pins in them to allow for setting of different lengths, and subsequently tilt of the entire top fore and aft. Further, the front tie-downs were way too long as set. This all took a bit of finagling, but I was able to make it to the point of the front visor section finally going on.
Smells like… victory?
Yeah - not so fast. I then started on the bimini sides, which were then sitting too high towards the rear, so had to slide the bimini support bar (rear-most of front frame) down to the lowest position - once again, it being obvious when the last canvas guy replaced the canvas, he didn’t replace the full camper, although the boat originally had a full camper setup on it..
If you encounter similar issues, consider two things:
-
When disconnected from the camper top, the front straps determine the angle of the bimini top, along with the rear bimini frame pin setting (the pin that goes into holes on the rear rod, not the retaining pin).
-
The pinned adjustment rods affects the tilt of their respective section (e.g. longer bimini rear rod + shorter front straps = ass up, front down)
I also came to the conclusion that the bimini center bow attachment point may need to be adjusted in some manner, as it was just simply way too tight. I’m going to try to get the rest of the canvas and frame sorted, and then revisit this one. For now, I unscrewed the center bow from it’s frame connection bracket and am letting it hang.
This got things looking reasonable well, leaving only the camper sides and aft curtain to go. The camper sides hung reasonably well, as did the aft curtain. Quality overall is nice, although I would have liked it if the aft curtain had a zip-able door and screen, and if the middle section of the front visor had a screen and zip-out Isenglass.
If it’s sounding like victory - no, not yet. I had some more adjusting to do, including getting the camper rear bow pins to drop down a full notch on the height pin…which required a bit more force than I’d prefer, When I’ve done numerous convertible tops of cars, I always lay them in the sun while removing the frame prior to replacement, as it lets the top get supple, removes any creases, and gives you a slight bit more ‘stretch’ to it overall.
The starboard side curtain was within reach of the boat’s snaps, which was good, but the port side was a bit high, as was the aft canvas. So close, yet - not there yet.
I noticed two more things before calling it for the day..
-
I had intentionally rmoved most of the front center visor section to let some airflow through and to keep the front center windshieldl section open. There was no easy way this was zipping back in place.
-
I suspect this one was primarily down to me being new to well, boat canvas in general…so I may have not started each section individually in exactly the right spot, so stacked tolerances and all that. I’ll be removing the front visor sections, zipping them together and then re-attaching them to the bimini and side curtains tomorrow.
-
-
I was slightly off-center on the camper top, which of course, would contribute to the ‘being shorter’ on one side versus the other. Will reposition tomorrow and see where it winds up.
Right now, I’m ‘somewhat’ concerned. It’s all very/kind of close, but not there yet. I’m not so concerned about the bimini center bow, as the worst case there is I drill out the rivet holding the bow bracket on each side, re-position the bow and bracket appropriately, and re-rivet, plus probably put a rivet, possibly with a bit of sealant, in the old rivet hole location. I’m more concerned about the tautness front to back, and just how much tension may be needed. I plan on going back out there tomorrow to see how things shake out. I also have one last trick up my sleeve potentially, but I want to go back and take a look again tomorrow before considering.
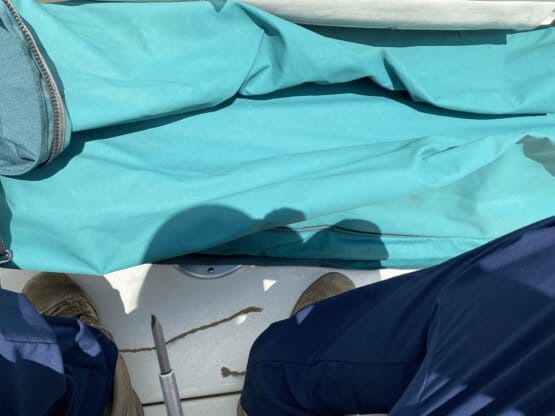
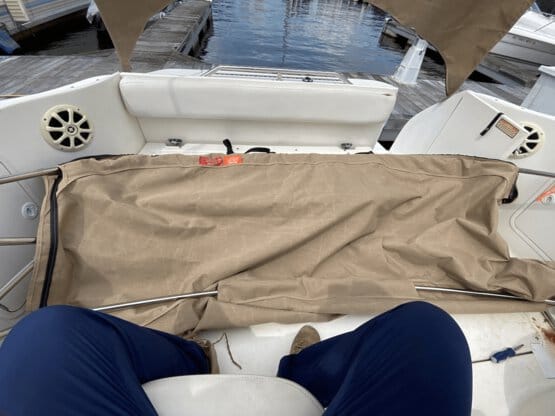
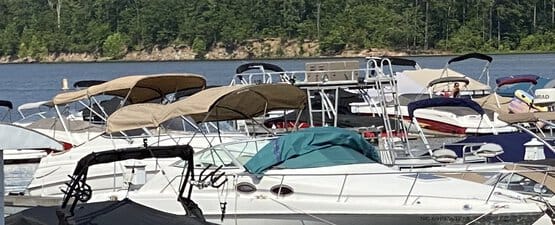
Meanwhile, here’s a shot of ‘it’s now tan, and mostly done.’ Kind of. :(
To be … continued..