Eunorau Fat-HS modifications, parts and misc notes
Just a collection of miscellaneous notes on parts and maintenance. Links provided where possible to make life easier...
Drivetrain
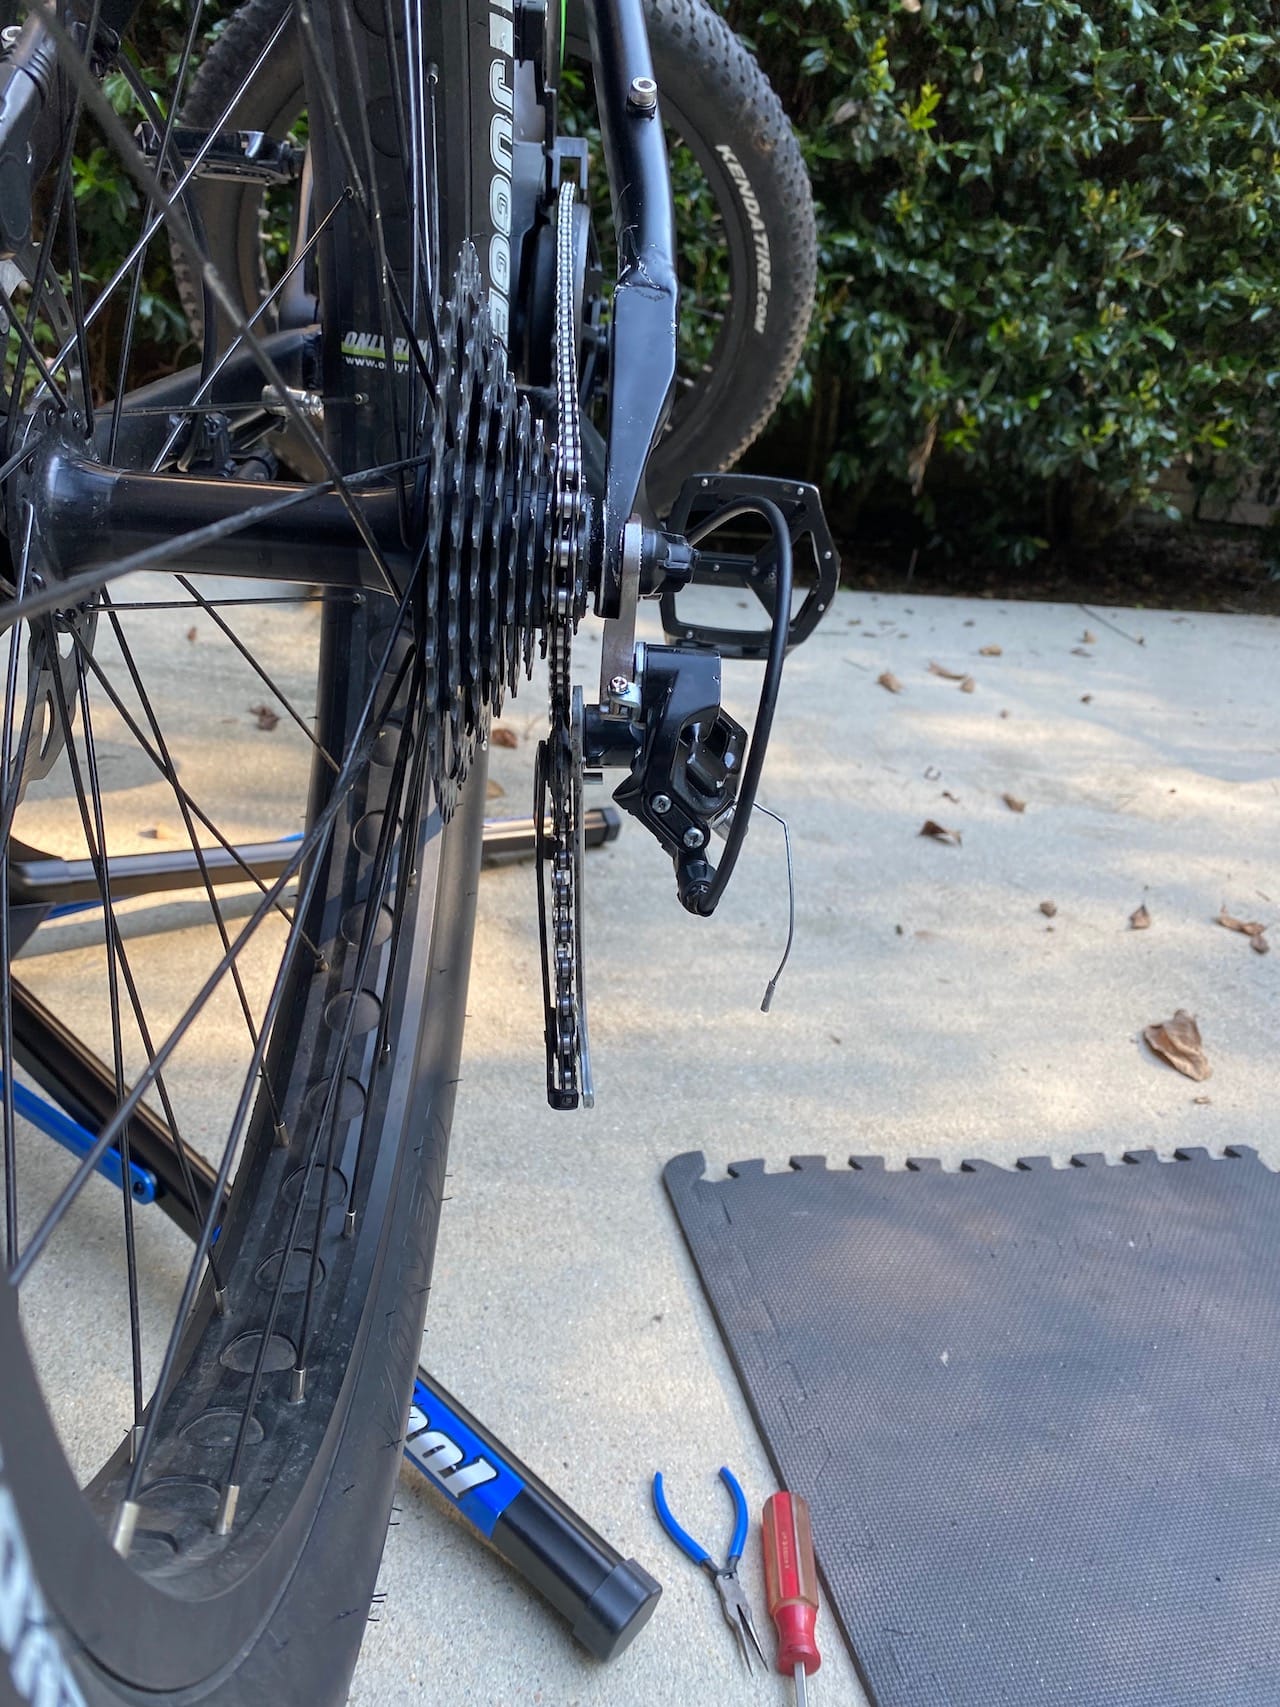
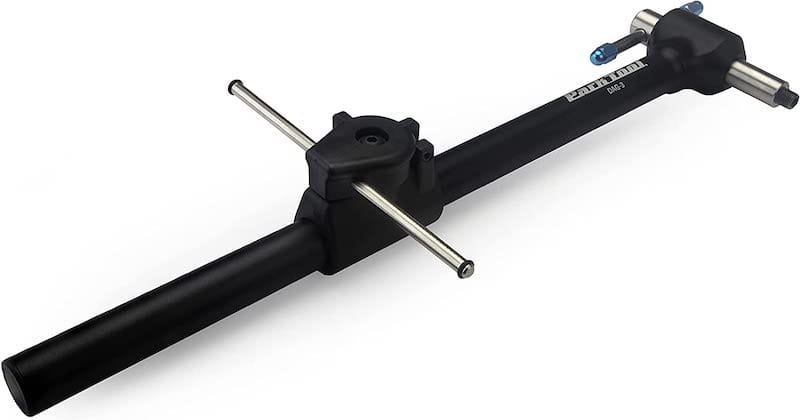
If you’re unlucky enough to get the Sunrace setup on your FAT-HS vs the claimed Shimano - I did not have good luck with this one. To start with the derailleur hangar was competely bent..you can do some fixes by hand, but I wound up picking up a Park Tool alignment tool. You can get cheaper, and I do think it’s a bit overpriced for what it is, but life’s too short for crappy tools that break, so - YMMV.
Park Tool Derailleur Hanger Alignment Tool
Other options:
Park Tool DAG-2
CycloSpirit Alignment Tool
After doing the best I could and aligning the hangar properly (in at least 4 locations on the wheel), the bike still had shifting issues no matter the adjustments. I wound up replacing it completely, but parts were a bit difficult to source, so picked up a Deore 9s rear derailleur (this is not ideal as it has no clutch!), with a Microshift MTB Shimano-compatible shifter (link is actually for two shifters - just don’t use the one for the front derailleur..), and picked up a Jagwire cable kit ‘just in case.’ Note you need to do the Shimano-compatible version of the Microshift shifter (the one linked is correct) unless you go full Microshift Advent line including derailleur.
It turns out I’m glad I picked up the cable kit, as there were several frays going on inside the cable sheath for the shifter cable. The cables that came with the Microshift actually were too short as well, while the Jag cable was more than long enough.
Doing it again I’d either step up to a 10s drivetrain with Deore 10S derailleur, Sunrace 10s 11-42 cassette, Shimano Zee shifter and chain, as the 10S for Deore is the minimum speed you get a clutch o nthe derailleur - which will help keep chain tension on the full-suspension bike (or any bike), or the full Microshift Advent setup and stay with 9 speeds.
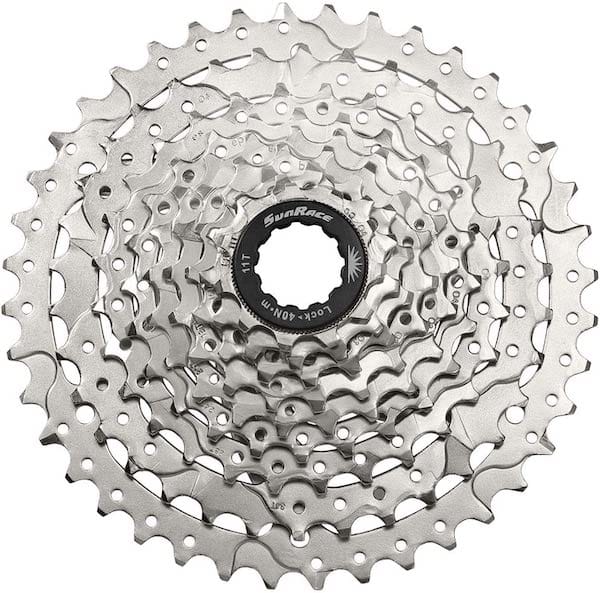
If replacing the cassette, considering the weight of this bike and unsuitability for ‘serious’ off-road, as well as the power available from the BBHSD motor, I’d go with something like an 11-40 cassette or 11-46 at most (IF you can find one in 9s) - IMO, you just don’t need to go to a huge rear sprocket on most e-bikes, especially 1000W ones, but you may want to increase the largest sprocket if yours came with an 11-34T.. Note the shipped cassette at least at one point was only 11-34T (11 teeth on smallest sprocket, which is the highest gear for top speed, 34 teeth on largest sprocket, which is lowest gear/1st and for climbing or taking off from a stop).
Initially I wasn’t a fan of the ’single click’ or the thumb upshift paddle, but you adjust pretty quickly and now I prefer this control arrangement, while limiting the shifting to single up/down at a time can’t hurt in extending e-bike drivetrain life. The FAT-HS does have a gear sensor (one which honestly cuts the power for a bit too long on shifts), but the single click up/down at once limit is a good idea in general.
Depending on which front chainring (front sprocket the chain rides on under the pedals) came on the bike, you can go larger on this (to a point) to gain some top speed and to contribute a bit more to moving the bike via pedaling, or smaller if more climbing power is needed or if you want to apply lower force to the pedals when riding/make it easier to pedal. Personally I think the 42T front sprocket is pretty ideal on this bike, and was readily able to go into the mid-30mph mark without issue…not to mention most aftermarket chainrings may not have the right offset and may cause problems with the chainline (alignment of front sprocket and chain to the center of the rear cassette should ideally be straight).
Note you WILL need a BBHSD specific chainring if changing..and make sure it has similar offset to what came on the bike - a lot of ‘BBHSD chainring upgrades’ are intended for DIY conversions to normal bikes and while they may be great there, on the FAT-HS they will very likely have too much offset and sit too far inwards.
Seats
Seats are a highly personal thing. If you can measure your sit bone, do so - Trek stores have a gel pad they use to do this and it’s free, or you can use a piece of cardboard to do it. If in doubt, go wider vs narrower - in the > 140mm width range unless you’re quite light and on the smaller side. If you’re a normal-sized guy, chances are the WTB and other brand 135mm seats just don’t do it unless you ride standing much more than sitting (which is at least somewhat less likely on an ebike).
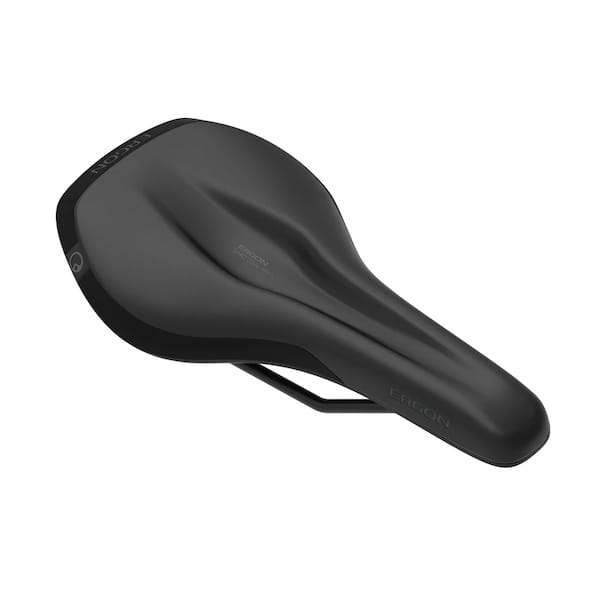
I’ve got a Cloud9 smaller cruiser-type seat on the FAT-HS, and it’s ok. Meanwhile, I’ve got an Ergon SMC Core Prime on my Luna X2, which I like pretty well, although I’d like to try the Ergon SM E-Mountain Core Prime and the Fizik Terra Aidon at some point. The good news is I can do 20+ mile rides on either of the bikes now; although there may be some temporary discomfort, it goes away quickly compared to the OE seats..
Some shops do have arrangements with some brands to do ‘tryouts’ or saddle loaner programs - it may be worth checking into if you really just can’t find a comfortable seat.
Fenders
Eunorau sells a rack and fender kit, although somewhat pricey, and the fenders are apparently welded to the rear rack. The rack itself looks OK, but not everyone wants one.
Fenders, on the other hand, come into use to keep you and your bike a bit cleaner - less wet and less muddy when riding in the rain or on wet ground. They can also keep tire spray out of or away from wires, battery connections, suspension picot points, etc.
It’s more difficult to find standalone fenders for fat tire bikes than for normal-tire-sized mountain bikes, e-MTBs and other ebikes, but they are out there.
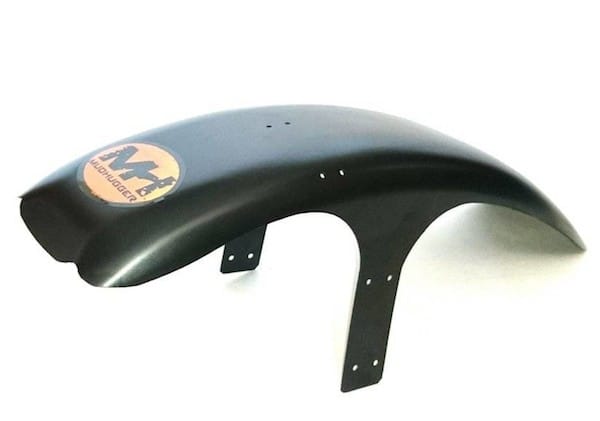
I did pick up a Mudhugger Fathugger front fender, although have yet to fit a rear fender at this point. The front fender is fine and goes on with zip ties. I didn’t put the sticker on (see last pic on this page of my bike..).
Other options:
Metal Voltech mojo fender kit - some minor work probably required.
Shock and forks
The rear shock was originally some no-name coil shock in 190x48mm, and the PO replaced with a DNM AOY-36RC, which is an ok-for-cheap rear air shock with positive and negative separate air chambers. Technically, it’s a 190x50mm shock (eye to eye length x travel) which is slightly higher than the 48mm, but I’ve seen no problems or frame/pivot point contact as a result. Note some places list the DNM as 190x45mm and others 190x50mm. Others have upgraded to a Rockshox 190x51 without issue, like the Monarch RL or even the higher end shocks. You may be able to re-use the original bushings, but like the headset - they’re not great, so at least for Rockshox, will need 3pc 8x25mm (RS6840) and 3pc 22x8mm (RS8699) or equivalent.
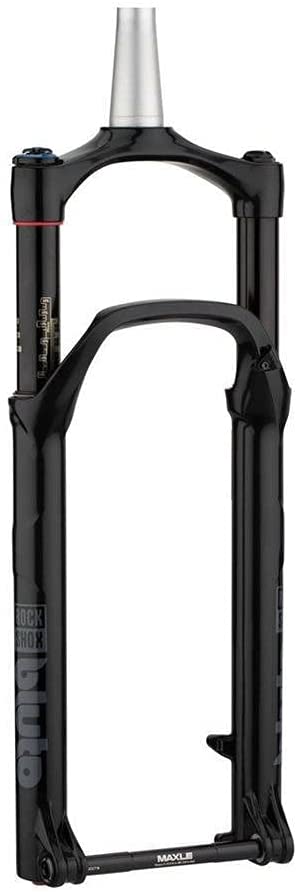
The OE fork is an RST Guide 75mm travel spring fork, which is basically like a pogo stick. It has adjustment but not much, and the travel is pretty short. To be blunt, I don’t like the front fork one bit, and would be looking to upgrade it to something like the RockShox Bluto or a Wren fork.
Note that the OE wheels are 9mm quick-release. This is convenient, but were I to replace the forks or for doing anything other than casual trail riding, I’d prefer to go with a through-axle setup (like on the Bluto linked above) and a conversion kit like this one from Biktrix, or keeping the QR but finding a proper conversion kit from the new fork’s TA axle diameter (e.g. 15mm) and the right width (135mm). The other option is to pick up a used (or new) wheel to match the width and type (e.g. 15mm thr-axle) of the new fork. There are numerous unknown China brand ‘budget’ forks, but if you’re looking to upgrade the fork, it’s probably with reason, as in more difficult trail riding - so I’d stick with known brands.
Misc other parts and upgrades
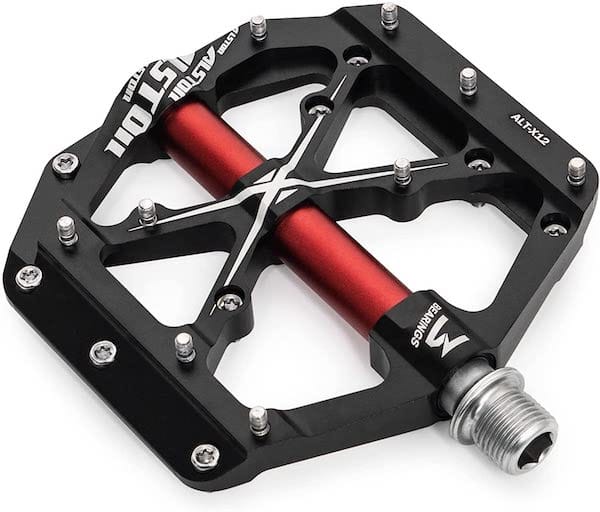
Pedals
The good news for anyone to ebikes is that most parts, with the exception of the motor and electronics and the core frame are all more or less standard bicycle parts, thankfully, and this extends to the pedals.
You can spend a small fortune on e.g. Crank Brothers pedals and others, but for a bike like the FAT-HS, which is a more casual type of ride, even when off-road, I’d just pick up a set of decent mountain bike pedals.
A basic decent set of pedals can be had to ‘flair’ up your bike, or just make sure it’s reliable. I’ve had a set of Crank Brothers but buy RockBros or lately, a set of Alston MTB pedals and have jumped them without issue - all for $30 or less. They also generally weigh nearly the same across brands.
You can buy a special pedal tool if you need to depending on the pedals being removed on installed, but numerous pedals also have allen heads nowadays so you can screw them on with an Allen wrench (IIRC 8mm) from either the inside or outside of the pedal.
IMPORTANT: Bike pedals tighten and loosen in different directions across right (chain side) and left. The chain side (R) tightens clockwise and loosens counter-clockwise, while the non-chain/drive side (L) is the opposite. Do put a dab of grease on the threads when installing.
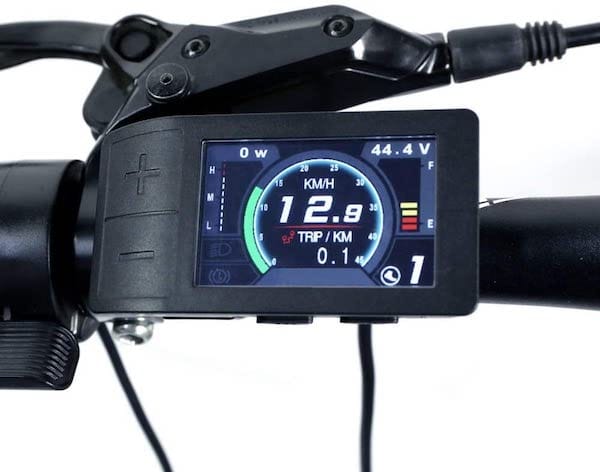
Display
Eunorau seems to occasionally change specs on some parts, but any BBHSD or earlier Ultra motors (UART, not CANBUS) can take nearly any Bafang Display. I’ve got the DP C18 on the FAT-HS, although in hindsight I’d prefer something like the 500C, SW102, or EggriderV2 display.
The DP C18 is overall decent on capabilities, but most of the Bafang displays have two issues in my opinion - they sit above the handlebars and they can wash out in sunlight. The problem sitting above the bars is simply down to maintenance needs; whether (especially) on a trail/out riding or at home, being able to set the bike upside down easily is rather nice for some maintenance and repairs, and it’s also in general IMO less protected when riding. YMMV on this one.
The Eggrider is a modified SW102 display with their own firmware, which lets you adjust controller power/assistance and other settings, which would otherwise need a Windows computer and Bafang programming cable, or the Android Speeed app, a USB OTG cable and the Bafang programming cable. (Sadly, the Speeed app doesn’t work fully for UART-based M600 Ultra motors on other bikes, nor the CANBUS M620 or M600 motors..but does for the BBHSD..).
Note: If you do change displays, use a small bit of dielectric grease on the outside of the connector - not on the contacts/metal, but the inner plastic piece..this will help keep things waterproof.
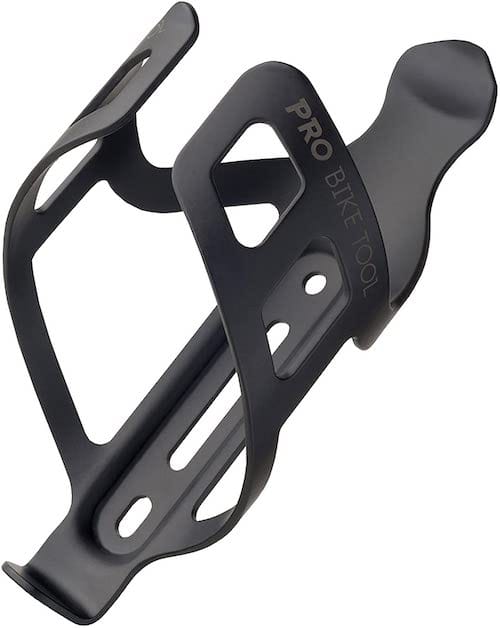
Water is good...
You have the option of a second battery on the FAT-HS. While I do have a second battery, it’s the same as the internal battery, while the external battery kit as for a ‘Shark’ type enclosed battery. The same mounts can be used for a water bottle holder, which unless you ride with a hydration pack (I generally do), is pretty handy. When I do use the bottle holder, I really dig insulated bottles, so I use my 16oz Hydra-flask, throw some ice cubes into it and fill the rest with water, and have ice cold water for hours.
If you do use Hydro-flasks or clones, note they come in either standard or wide-mouth versions, while the caps from other brands in the same mouth type - will generally fit. I usually use the Hydro-Flash flex spout on narrow bottles, and the Takeya spout screw-lid on all of my wide-mouth bottles. Add in a ‘closed’ lid for narrow(may have come with narrow-mouth bottle) and for wide mouth bottles, and a few lids work across all of the various bottles including larger jugs that we have..
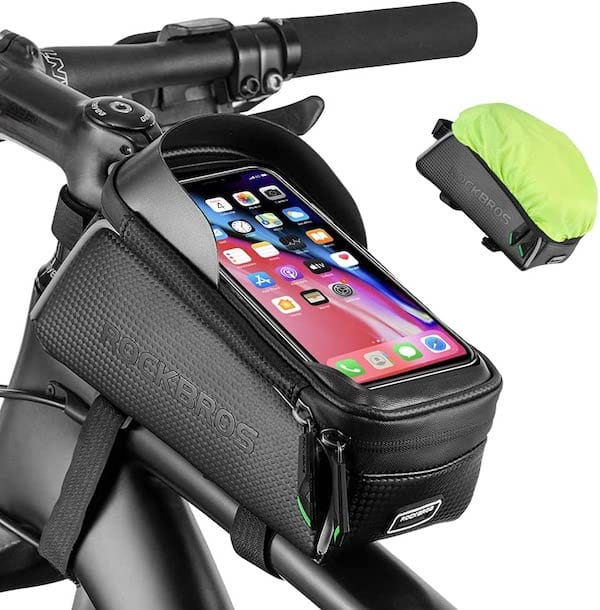
Phone mount and carrying small things
I have a RockBros top tube bag I leave on the FAT-HS. I leave some small tools like a multi-tool and my wallet in the main compartment, and use the phone sleeve area for my phone, as we use Komoot a fair amount for our planned rides. It works well enough overall, although some may prefer an over-the-bars phone mount - we use this one on my wife’s Gazelle and so far so good.
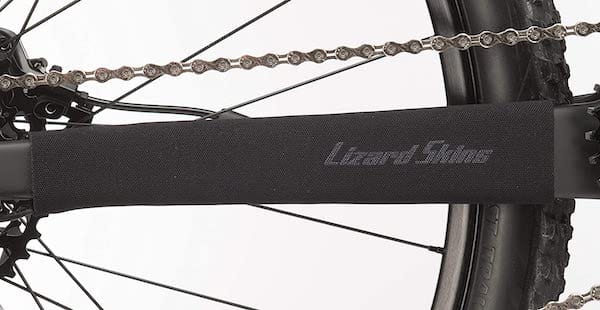
Chainstay protector
If you’re not into bikes, you probably have no idea what this is. It’s just a ‘guard’ made plastic, rubber, or other material that protects your frame from being scratched up for if/when your chain snaps or comes off. The good news is they’re cheap. I like the carbon-fiber look of the Fire Lizard, while a lot of folks swear by the Lizard Skins neoprene protector.
Note the Lizard Skins come in different sizes but have some stretch - medium should fit most, and if too long, can cut the length down easily with scissors.
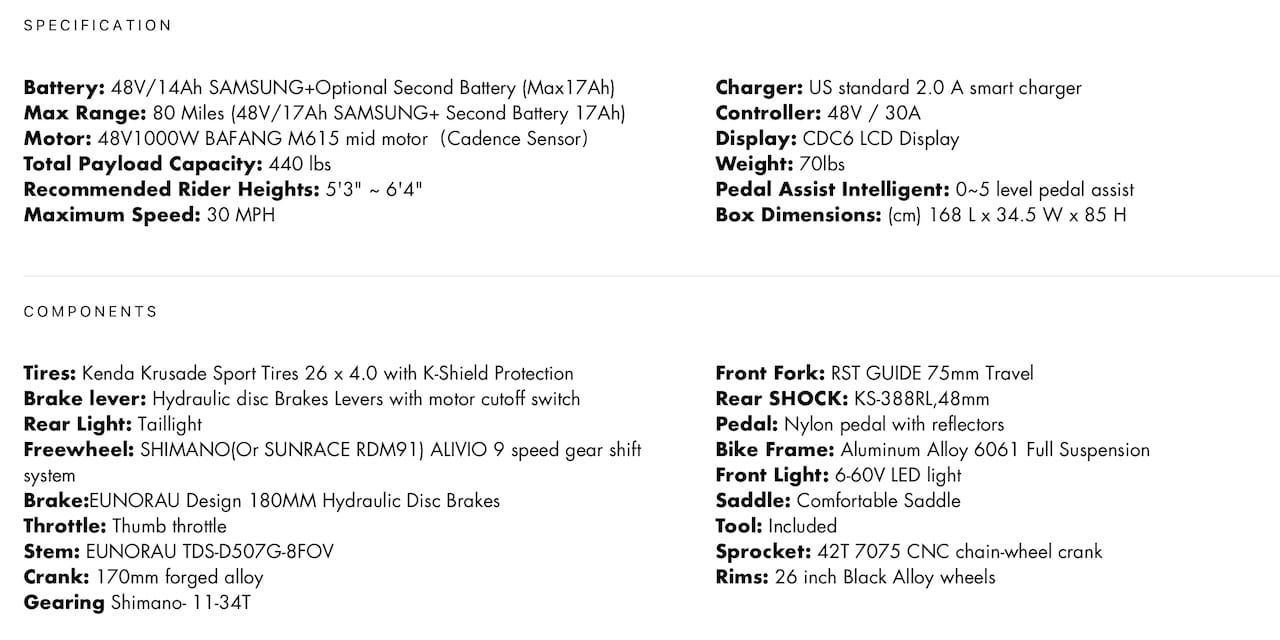
Eunorau FAT-HS Specifications and Notes
Keeping a snapshot of the Eunorau’s specs in the event they disappear or go offline in the future, but here is the current link to the seller’s site as well.
Also note the site claims ‘freewheel’ but this has a very specific meaning for bikes, and the hubs are in fact Quanto freehub, standard Shimano HG so can take the usual HG/Shimano cassette replacements.
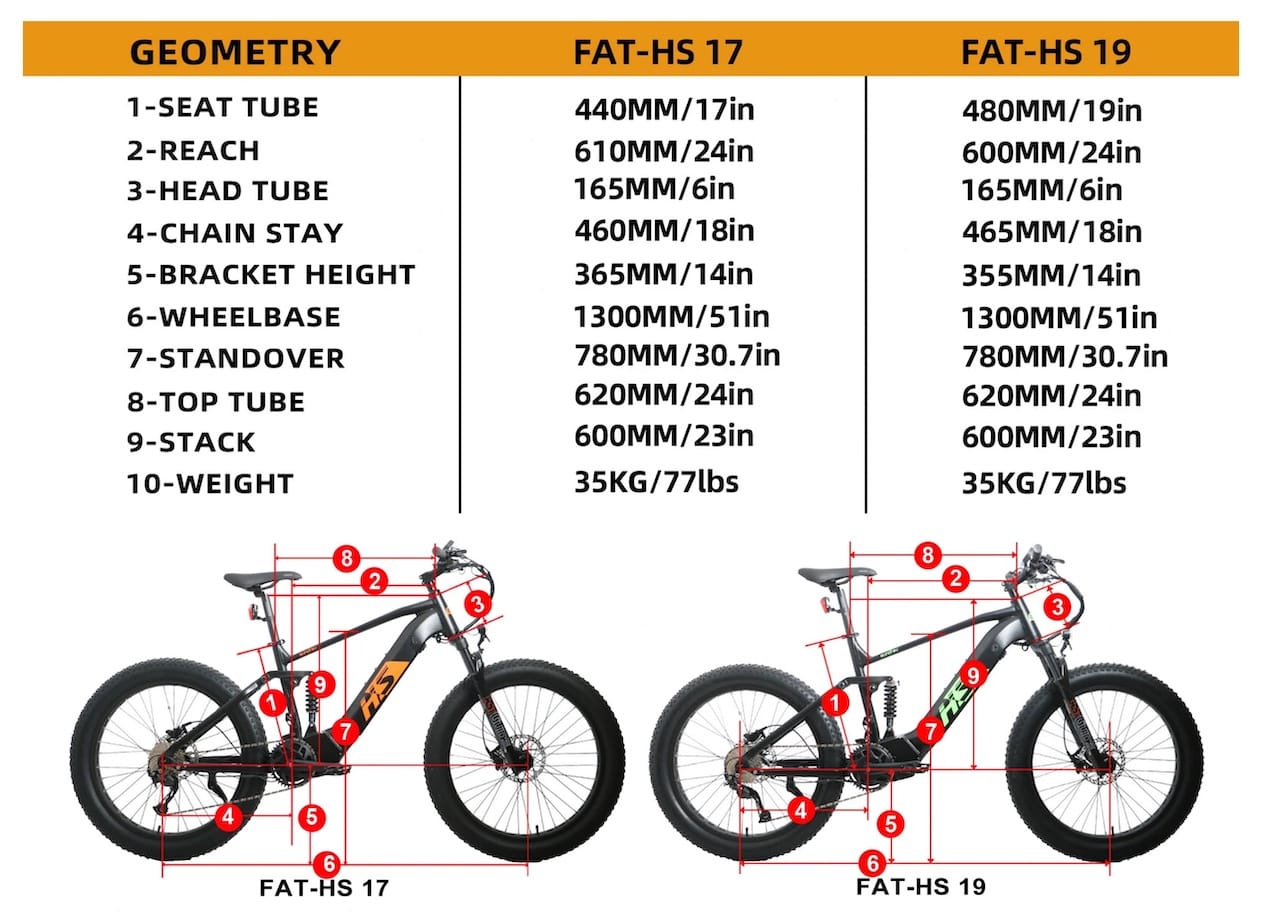
The brakes are Tektro, not ‘Eunorau’, top speed is closer to ~36MPH than the claimed 30mph, the assistance levels can be changed depending on which display is used (usually between 3, 5 and 9 assist levels - max power does not change, but the granularity or size of jump from one level to the next does), and the Large 19” frame is the ugly green stickers while the 17” is orange. I’m quite sure the published weight is without the battery - the bike is closer to 80# ready to ride.
Range of course, is highly subject to assistance level and gearing used.