Installing a bigger tank on the DRZ
The stock gas tank on my DRZ400S is somewhere around 2 gallons, and while I’m still attempting to decide if the DRZ can replace my BMW F650 as ‘adventure tourer’ for longer trips or not, hitting reserve at 80 miles or so just really isn’t a good deal, so I went looking for a larger gas tank.
As I did this mod some time back in ~2009, I’m assuming some of the gripes people were making at the time around IMS and Clarke tanks may have been resolved, there were various complaints at the time, including some minor mods needed for the Acerbis offering.
At the time, I had decided to import a ‘Safari’ tank, also known as Aqualine, who also makes some truly large 28L tanks but also had a seemingly-more-appropriately-sized 17L (~4gallons) option available.
At the time, the only US dealer was Sportline Touring accessories at the deals gap (Tail of the Dragon) website, who seems to now no longer be in business, but the Safari ‘Trail’(17L) or megatank 28L versions can still be found.
The installation across all of the tanks should be pretty similar, although the Safari tank’s ‘wings’ tend to really wrap around the radiator and may offer some added protection. Meanwhile, the already-expensive Safari tank (at least in the US) seems to have gone up even higher purchasing in the US, so today I’d likley pick up the Acerbis for less than half the cost unless a better price could be found for the Safari Trail tank.
Tank unwrap - first impressions

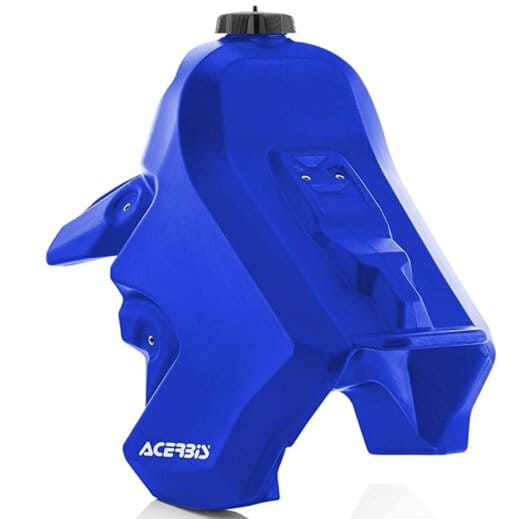
As this mod was done to my second DRZ (first one was blue from factory, while this one was yellow) I wanted to convert from yellow to blue, I went with a blue tank. Once the tank arrived, the bog was…huge.
The tank looked to be very well made, as well as, well, again - huge! The 17L has a single petcock, while their larger tank has duals. I still wish I could find a locking cap, but for now it’ll do :-)
It comes with a double sided instruction sheet, it’s own petcock and screen, a rubber strap, and a small bag containing the former.
I got home late the night it arrived, exhausted...so of course, that resulted in me going out to the garage to install it anyway!
Installation

Seat removal is easy enough- a pair of 10mm bolts, one on each side in the rear of the seat, running through the white side panels into the frame.
The instructions say to drain the tank before removal, which I promptly ignored, for lack of an empty gas can without oil mix in it...and of course, forgot the vacuum OEM petcock doesn’t really _have_ an off position, so made a bit of a mess. Hint- drain the tank! I plugged the gas line with a bolt instead, and removed the two bolts at the rear bottom of the OE tank, and off she came.
The bike has Flatland rad guards on the bike, which I wanted to leave on, and was minus the fan from the prior owner. After sitting in a near standstill on the highway in 95* weather, and having the temp light come on (I promptly went around some traffic to get air flowing, immediately went back off), I decided I was putting the OE rad fan back in.
Some foam strips with adhesive come with the tank, 4 long strips (~12” or so), and 4 small pieces an inch long or so, with no mention of what to do with them. They _should_ go along the side of your radiator or rad guards, with the small pieces at the very top and bottom sides, where the tank once installed can squish into them a bit, and prevent any metal to tank contact possibilities. I had first put only the long strips on, then put it back together, and noticed the tops of the rad guards were pretty close to touching the tank, so pulled it back apart, glued them on, and also bought some ‘air conditioner weatherstripping,’ which was the densest foam I could find easily at a Lowes, and glued that on as well. You’ll want to check clearances all around - you do not want the tank rubbing on the top of the engine or against the radiator, as that can cause an over-time wear-through.
NOTE: There will be some plastic shavings left from the manufacturing process. Make SURE to rinse the tank out (with a bit of gas) prior to install on the bike!!
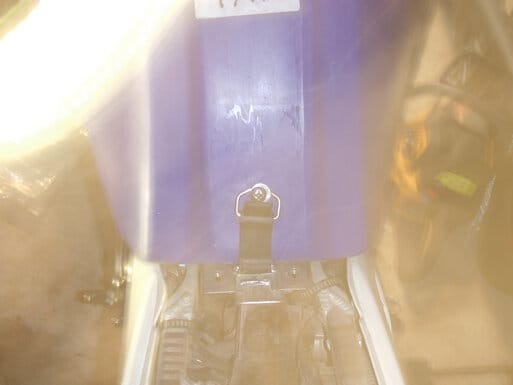
There’s a rubber strap that comes with the tank, which basically holds the rear bottom of the tank on, it fits nicely into a slot on the frame, and then goes up to a screw in the tank. I added a washer for some mild reassurance.
The Aqualine tank comes with it’s own petcock, as previously mentioned, with a ‘real’ off position, and a length of black fuel line and clamp. The clamp is utterly useless/irritating (a bit too small), but if you must use it, slip it over the carb fuel inlet bung, followed by the fuel line, and then fight with it to get it over the hose- there’s no way it will expand enough to go over the flared fuel line end while on the hose itself. A minor annoyance at best.
With a stock seat, just put the seat back on, fill with gas, check for leaks and any abnormal contact, and you’re good to go.
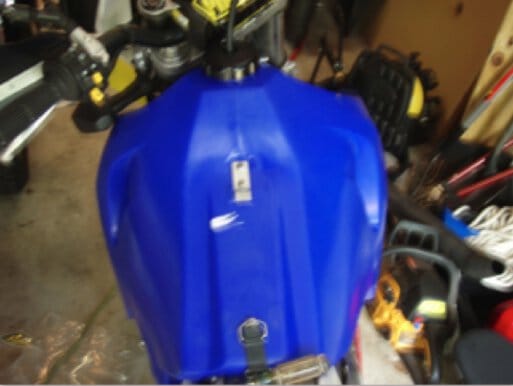
But - not so fast
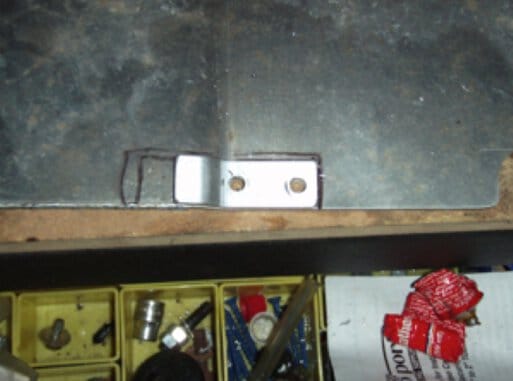
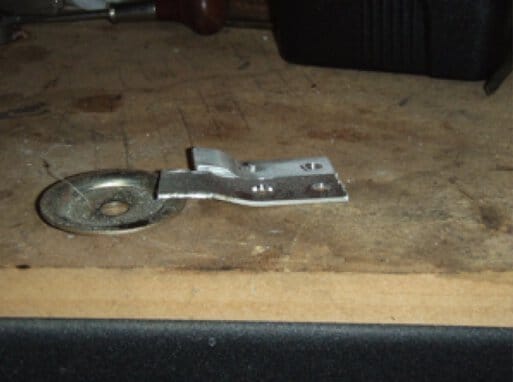
In my case, I had an aftermarket seat, which did fit, but didn’t quite engage the metal hook on the tank with the front of the seat...so I fabricated a new one from some scrap aluminum, making it extend another inch or so.
I drilled it, cut it out from the scrap, bent it a bit more, then cleaned it up a bit with a bench grinder, then installed it.
Now the Corbin went on and latched positively up front, and all was well with the world. Now if only my blue plastics would show up already!!

General Impressions
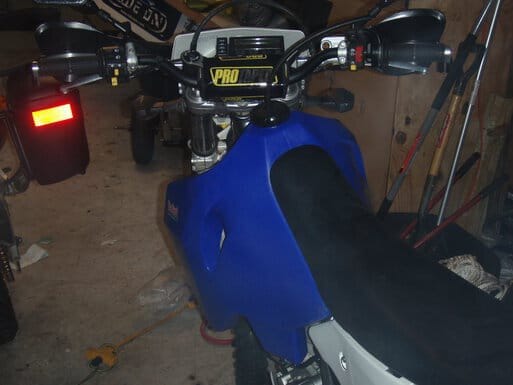
So far, I really like the tank. The plastic feels quite thick and sturdy. I’ve ordered a gas cap vent for it, but in the meantime, just stick the vent line over the handlebars under one of the cables and it stays out of the way just fine.
Capacity is a bit over 4 gallons. I haven’t run it to reserve yet, but have done a few 150 mile + trips..much nicer range than stock.