Boat Dashboard and Gauges
Sooner or later on used boats, I expect most owners are going to come across one, or both of these issues - older boat dashboards, in general, while looking nice out of the showroom - don’t age particularly well over time. The use of dash covers or campers along with the usual protectants (my favorite for both marine and automotive use are 303 products, in particular or more frequently used - 303 Cleaner and 303 UV protectant)… gauges can fail and the dash can start to look outright nasty.
Helm Dash
My dash had seen better days looks-wise. I had initially thought to try to compound the heck out of it by hand, and I still may try to do so as an experiment, but much reading at the Club Sea Ray forums - leaves me believing this is pretty much par for the course, and the older materials just really don’t hold up well over time.
You could go ahead and compound dash panels looking like this to see how it goes, with another option being to simple clean it up, scuff it a bit with some finer grit sandpaper and paint it with a coat of acrylic or enamel rattle can paint followed by a clear coat, ideally. This will likely be a part-time project for me to see how the alternative would have come out, although I expect it would be fine, with the exception of trying to retain the switch and warning lettering on the switch panels.
Replacement panels
Depending on the year and model of your boat, this can range from easy - still in stock via Sea Ray or your boat manufacturer, to a bit of an adventure.
You can try searching eBay, looking or posting on forums like ClubSeaRay, or search across some specialty marine shops who carry OEM parts. One of those, FlounderPounder, aka fpmarine.com or Searaypart.com (the Sea Ray section of FPMarine) is one every boat owner should have bookmarked. They occasionally have used parts, as well as in some cases, stockpiles of NOS/New old stock parts, or even reproduction parts. When Amazon doesn’t have it (and they generally won’t have a fair number of specialty parts), these guys are always my next step.

In this case - they make reproduction panels for a number of Sea Ray models, in a choice of Cherry Burl or Black Stardust. They also make a ‘midpanel,’ which can be used to freshen up the helm section where the radio and depthfinder gauge sits, in this case - including for my SDA 270.
It’s not inexpensive, but it’s also not crazy amounts of cash, moreso considering I’ve yet to see anyone successfully restore an aged specimen like mine, knowing that I’d spend multiple hours on first compounding, and then if that didn’t work - sanding and painting the existing ones.
Of course, if you are going to replace the dash and helm panels, it’s also time to consider if anything else, in particular, the gauges, need replacement at the same time.
If ordering a replacement dash, make sure you select the appropriate engine option - single or twins!
Gauges
Originally, we’d thought the gas gauge, along with the voltmeter and tach were bad on the boat. As it turned out, the gas gauge is fine, but we’d been ‘getting lucky’ on all but the final check ride, running on near fumes. On the last check ride with Kevin where we’d gone out for some time - we’d filled up a bit in the marina, and the gas gauge is fine.
The voltmeter, however - it was time. It worked, or seemed to, with the ignition switch in the accessory position, and came up to the expected ~14vDC range, but the second the engine started it would flutter and essentially wasn’t usable. The alternator had been replaced not long ago, so it was a fair bet the gauge had lived it’s life.
Likewise, the tachometer was inop. One of the annoyances here is that the tach - also has the hourmeter..and replacement gauges do not have a provision that I’m aware of to set the initial hours. This is an annoyance to say the least - for now, and I’d recommend this to others - take a picture of your dash with the hourmeter display on, and keep the original tach with the boat, in the event you go to sell later and the purchaser is wanting to know actual time on the boat/engine. Note - you can also connect to the engine computer with a not-inexpensive ODBC-like computer, which will give actual engine hours and some information like time spend at different RPM ranges - but it’s not particularly cheap and considering the generation of this particular boat, just doesn’t have as many sensors and data that might make this a more worthwhile purchase, as it provides far less data than an ODBC-II car, for example.
One more caveat with (most) replacement gauges - no Sea Ray logo
The reality is most manufacturers only make the bare minimum of things themselves - and no, Sea Ray was not manufacturing their own gauges, engines, outdrives, etc. - they had gauges made, sometimes completely off-the-shelf units, from gauge manufactures, with their selection of bulb/lighting color, face color - and their logo. There’s nothing wrong with this - actually, it can mean more reliable equipment in many cases, coming from companies that specialize, versus having smaller-volume manufacturers trying to build their own, but it does mean that in many cases, unless buying as an official Sea Ray part # from a dealer - who may or may not even be able to get them, you may wind up with an identical gauge but without the logo as it came from the factory.
The same options for locating replacement dash pieces apply here - you can search eBay, looking or posting on ClubSeaRay or search across some specialty marine shops who carry OEM parts, or try FlounderPounder/SeaRayParts.
It’s worth noting that numerous years across several models may share the same gauges, or at least some of them. Always confirm what size and part number gauge is needed if possible - find a specific information parts manual online for your model if you don’t have the original documentation, or ask on an online forum to get the part #s from another owner. Failing that, measure the gauge face, note the range of values (e.g. 0-6000RPM), and check the connections on the back, and you may well find a unit from another model, sometimes even from a different brand - that will work. Be careful as there are some non-obvious differences, like 12v vs 24v gauges in some cases.
After a fair amount of searching, I decided to go new - minus the logo
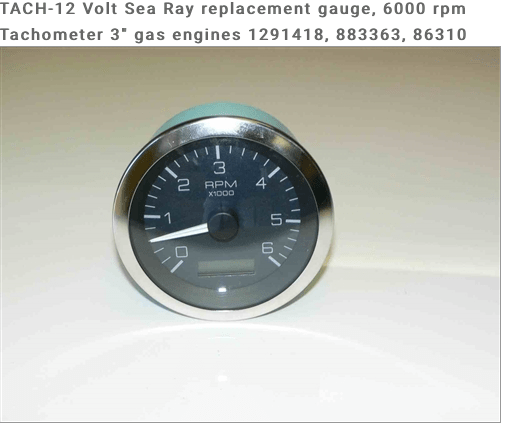
I did spend a fair amount of time searching, and I did come across a used full gauge set, but had a hard time finding both gauges individually, while the full set was at a fair premium of $400 or so…for a 20 year old set of gauges. Of course, they could have worked fine for many years to come, but I decided to go with new in this case. The tachometer wasn’t cheap at $150 from FPMarine, but I also wasn’t able to find one other than in the full gauge set in this case.
The voltmeter was a heck of a lot cheaper at $45, which OK - were it an automotive unit, would be closer to $30, but again, boat parts aren’t cheap as a general rule amd even automotive gauge prices (e.g. AutoMeter) have increased over time.
Before replacing gauges
It’s always worth checking the wiring! In some cases, simple corrosion buildup over time, or loosening of connectors or nuts and terminals, could be the simple cause of the problem.
What else is needed?
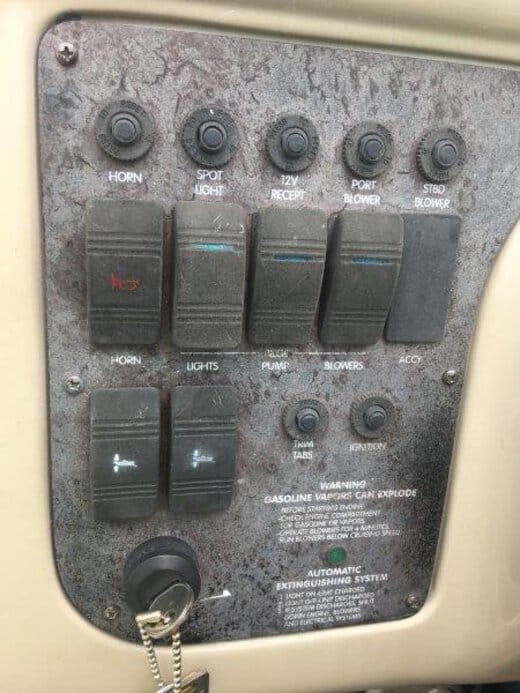
So - that depends. If you’re going to be replacing gauges, and certainly if replacing the dash panels, it’s worth at least checking if all of your switches and lights work, as well as the helm dash breakers. If not - now might be the time. SeaRay-Parts.com/FP has a full set of switches, small dash lights, and even individual dash breakers.
Some useful part numbers and sizes are below for my 1998 SDA 270 - I expect they carry over to some other years as well as very likley for the SE version of the SDA as well - but always confirm when possible.
-
3A breaker - depth sounder
-
5A - port and starboard wipers, water system
-
7A - port and starboard blowers
-
10A - horn, ignition, navigation lights
-
15A - spotlight, 12V receptacle, 12V refrigerator power, stereo
-
20A - trim tabs
-
25A - lights
-
Console knob - part # 522805
-
Green light for auto extinguisher - 179853
-
New Knurled nuts for breakers, pack of 10 - FP PN: Knurled-Nut-1658-1680
-
New Switch Covers (does not include the switches, although those are also available) - FP PN: C3kit270DA
-
On-Dash compass - 132563
It would also help to make sure you have a few tools on hand..
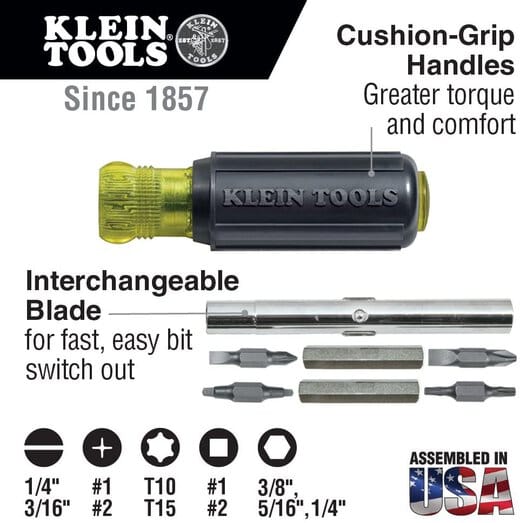
The dash removal is replatively simple, or at least to get it loose - just a Phillips screwdriver, although after breaking too many cheap screwdriver bits, including when working on the boat canvas, and for my carpentry and garage tools, I pretty much replaced all the ‘crap’ tools with Klein tools - still US made, a bit more $, but don’t break when applying a little bit of force (or of course - Mac, Matco, Snap-On, but a bit overboard on $ for many..).
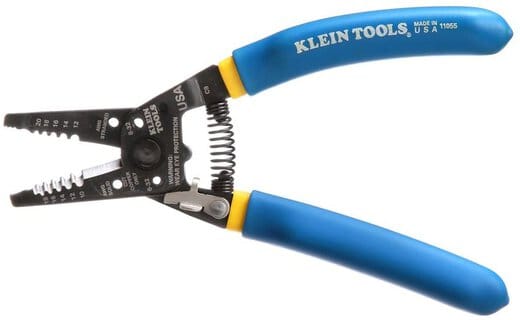
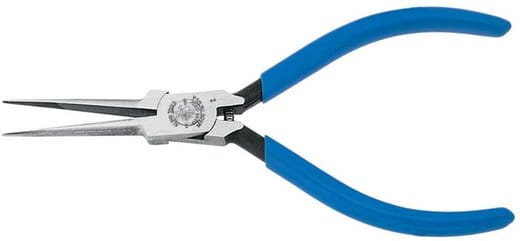
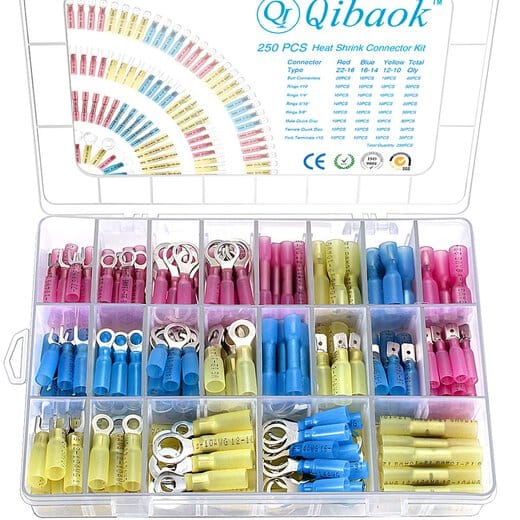
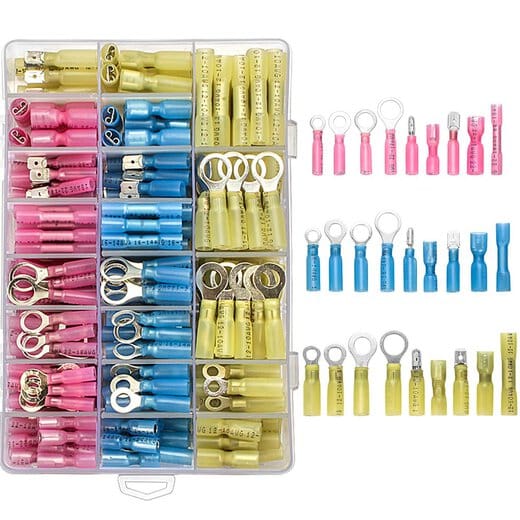
I’m including links below to the Keline multi-screwdriver I bought (several of over time), and some of my general boat toolbox items, as you may need some spare terminals and crimpers when swapping gauges. I’ll be covering the step by step installation soon.