Installing Hope Floating Rotors on a Luna X2
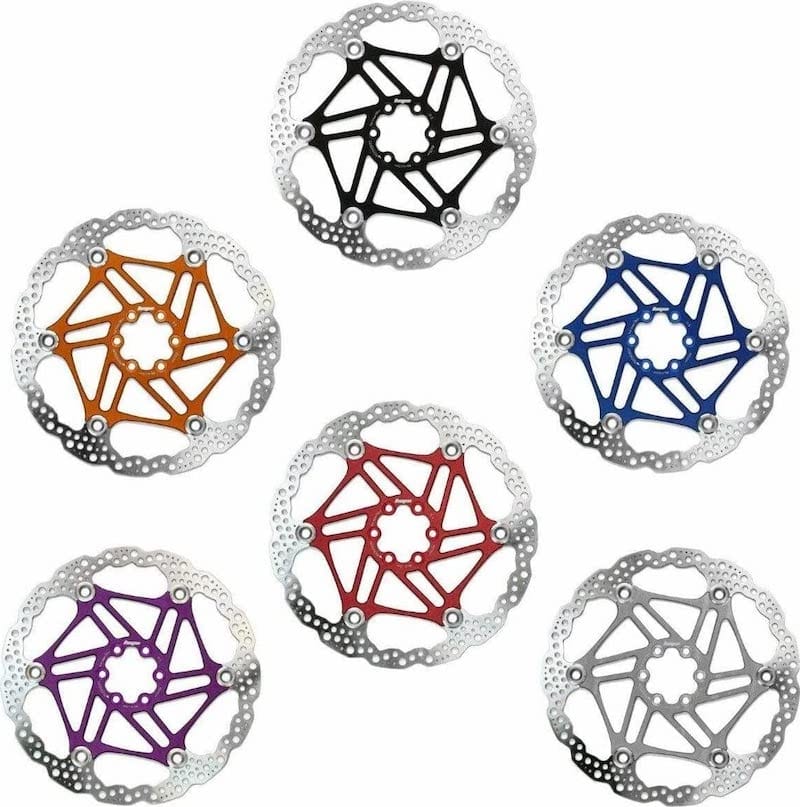
Gotta have a bit of color
So there’s nothing inherently ‘wrong’ with the rotors coming on the X2 - but first, I like to work on my bikes/motorcycles/cars/etc., and second - I wanted a bit of color, red preferably, so - why not?
Shimano and Magura I believe make their own variants of ‘floating rotors,’ where the outer disk is separate from the inner portion of the rotor, typically riveted in some fashion. In theory, they cool a bit better and sometimes are a bit thicker.
Note the X2 comes stock with 200mm rotors up front and 180mm rear. I’ll eventually be upgrading the front to 220mm and rear to 200mm, but that will require different caliper mounts front and rear.
May not be plug and play (but simple to fix)
Rotor replacement itself is simple - pull the wheels, and in the case of bikes like the X2 using 6 bolt ISO pattern, use a Torx bit to undo the 6 Torx screws from each wheel. Swap the rotors, add a dab of (blue) Loc-tite or similar to the threads, and torque back up to ~5-6Nm.
Important tip #1: do NOT touch the rotor surface (where the brake pads contact the router/the outer ring) with your hands! Your fingers contain grease and oil which will impact your brakaing capability! If you do manage to touch the braking surface, you can try to use isopropyl alcohol to rub them down, although if the pads come into contact with that grease and oil, they may need to be tossed (you can try sanding them, but YMMV). Simplest path is simply don’t touch the braking surface with your hands. The middle section is fine.
Important tip #2: When your wheels are removed, do NOT squeeze the brake levers! Without a rotor in place, the pistons can over-extend themselves from the caliper, causing issues withe the caliper seals, or in some cases if the pads shift, even popping the pistons from the calipers. There are ‘caliper wedges’ (unsure of their official name) which are thin plastic pieces, which may have come with your X2 or other bike - they can be inserted between the pads if desired when removing the wheels. I don’t worry about using them, but I make sure the bike is stable and I don’t touch the levers.
Mount your wheels, carefully guiding the rotor betwen the brake pads (tip - you can use a plastic spudger, wide putty knife or wide-bladed screwdriver on most calipers, to press the pads apart/further into the rotors if needed, but be careful - they don’t need to move much or usually, at all. You may want to consider adding a dab of grease and/or anti-seize to your axles while putting the wheels back on. Some brake systems have ‘bite point’ settings which can also be used to loosen up the pad distances a bit if you’re having issues, but the rotors should go back in without needing to touch anything.
Now, be careful - floating rotors may go onto some bikes without issue, but on others some filing may be required. The issue is the 'rivet' holding the rotor inner and disc together adds a tiny mount of thickness to the overall rotor width and may rub, or in some cases, even block wheel/rotor movement. So, once the wheels are back on, lift each end if not already done, and slowly turn the wheel by hand. What you’re looking for is whether or not the floating rotor binds or ’taps’ against anything when the wheel is moving.
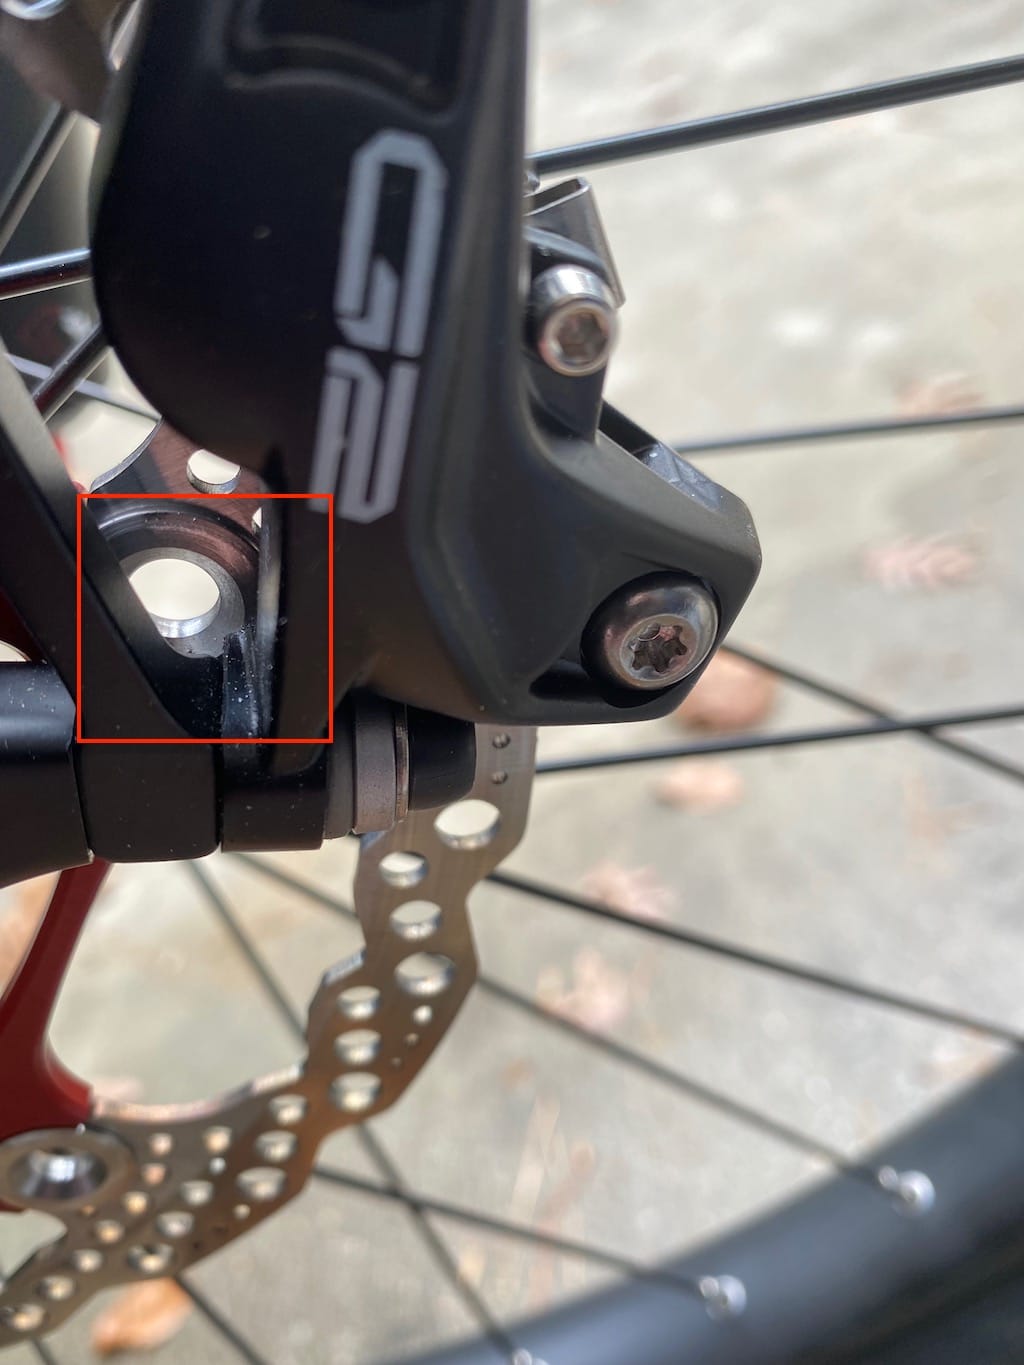
If you hear any noise, check if the rotor may be slightly bent at some point, and if it’s tapping on the brake pads or somewhere else. If the rotor is rubbing and it’s not on the pads due to a slightly bent rotor (which can be bent back), this is fairly easily remedied via filing the contact point - which is usually in the caliper mount or the caliper bracket. Refer to the pics below.
It’s worth loosening the caliper brackets and engaging the lever a few times, then holding it down and re-tightening - spin the wheel if able to, but if not, it will still help to center everything, which will help to make sure you're not taking off excessive material - it should need very little material removed, just a bit more than the added width on one side from the rivet, and it's worth confirming where exactly it is rubbing or binding.
A flat file with the wheel removed makes pretty short work of this, although you may wind up fitting the wheel, testing, removing, filing more etc. a couple of times. Note the brackets are pretty stout, and in nearly all cases you’re removing less than .5-1.5mm of material. Go slow, cehck often and you should be fine. You can cover other areas with masking tape to protect paint if desired before filing.
Floating rotor rub point on the caliper bracket
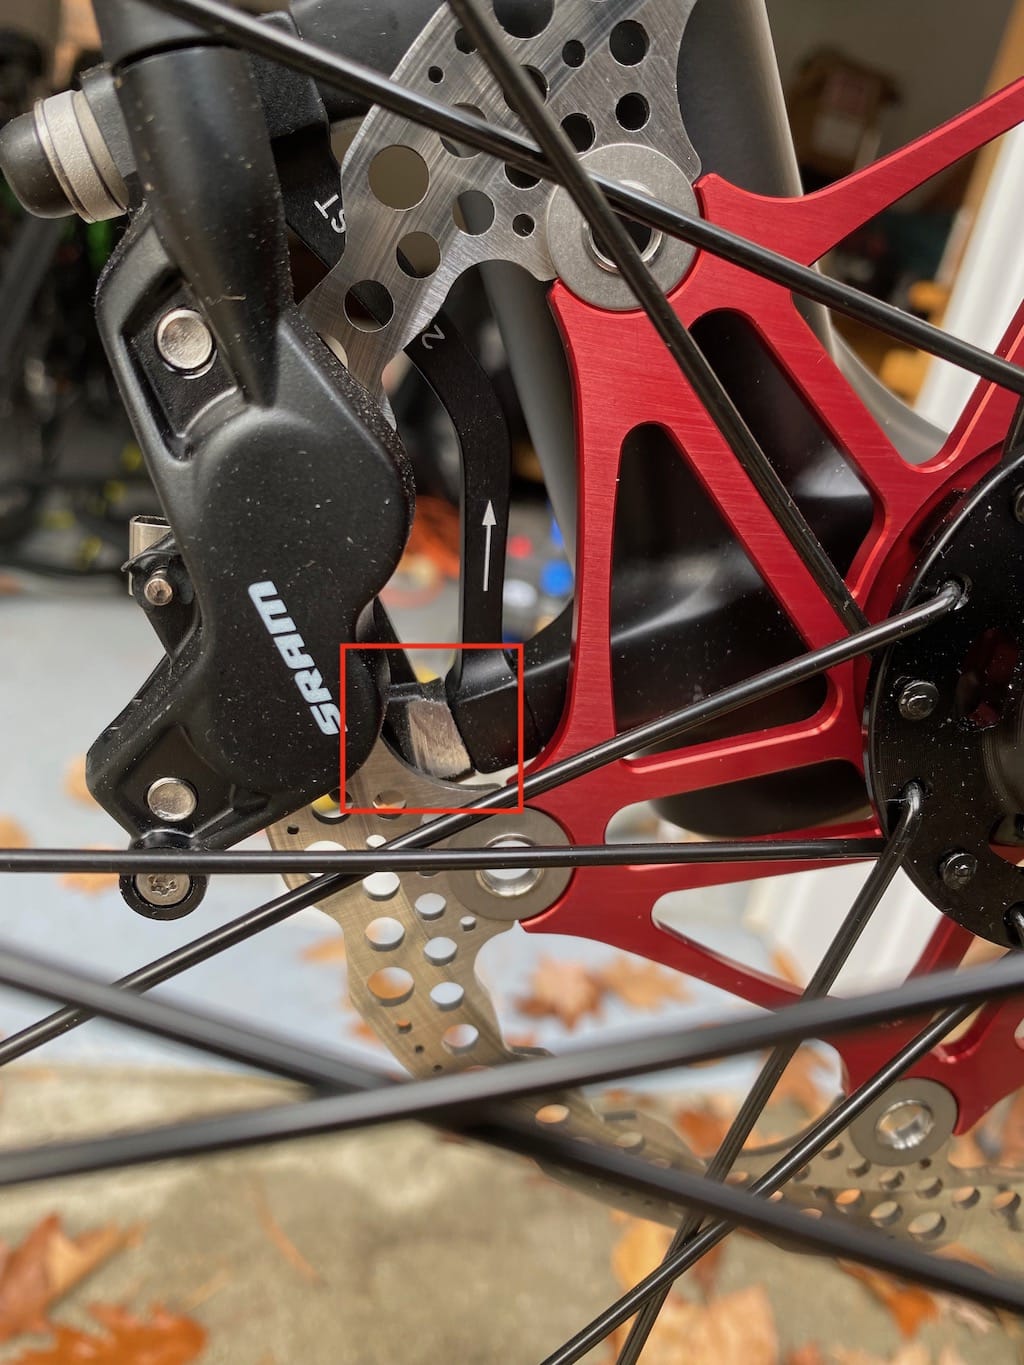
Second view - floating rotor rub point on bracket
Once the wheels are spinning freely, you’re good to go!